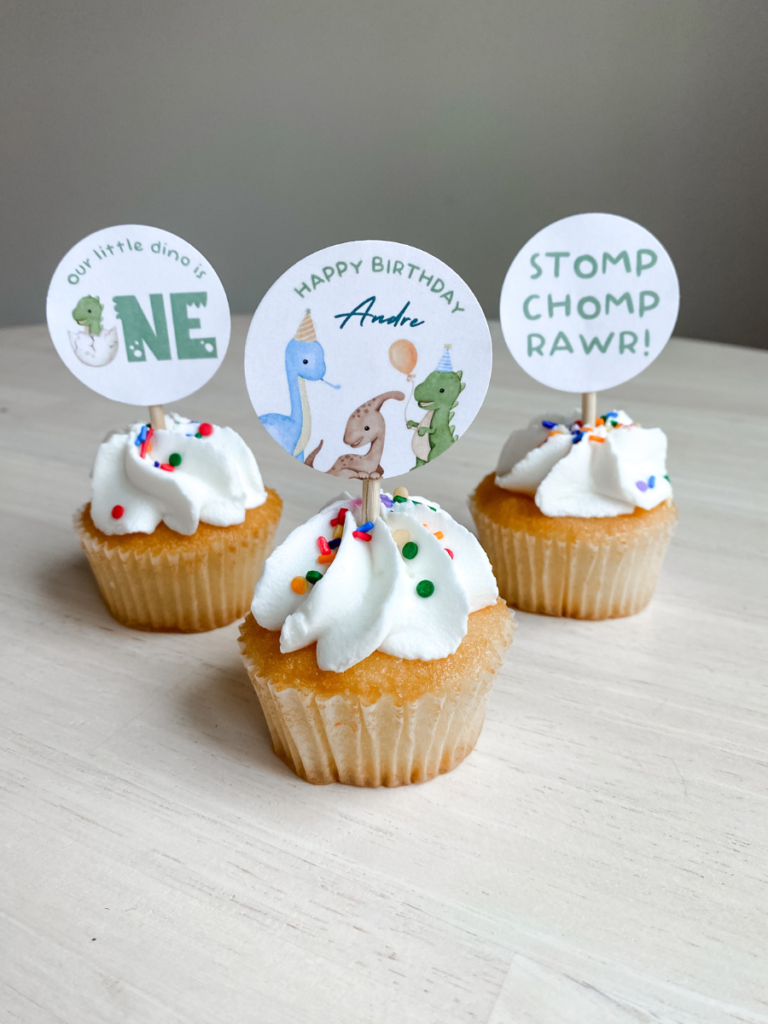
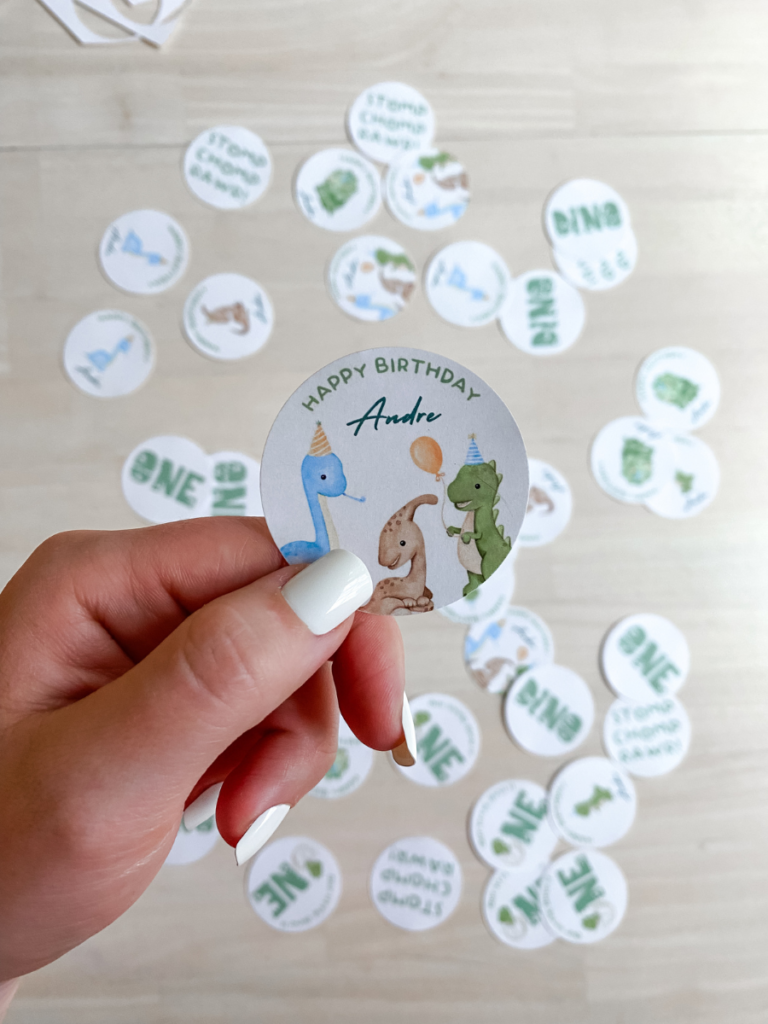
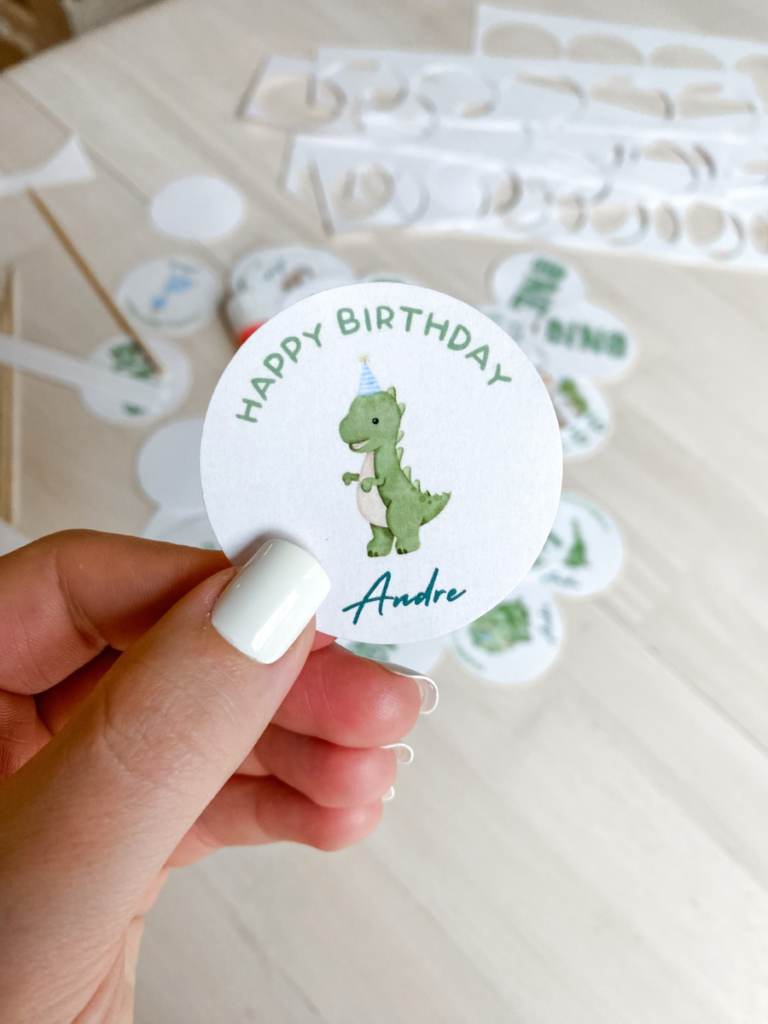
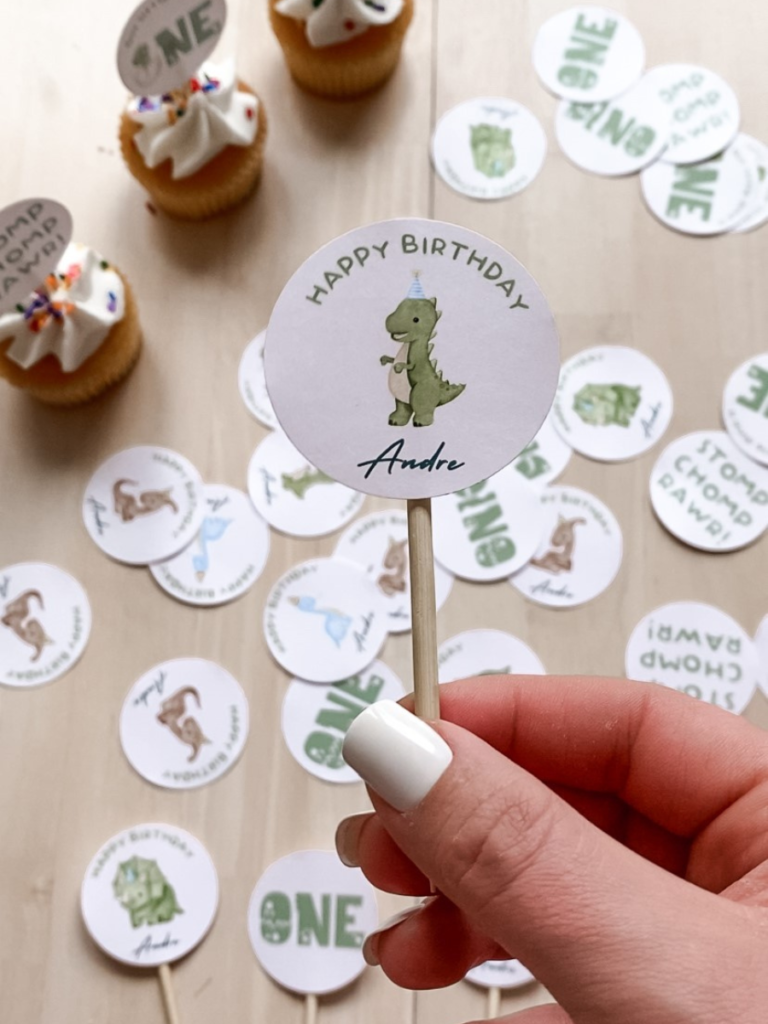
I’m so excited to share a few projects I’ve been working on for our son’s first birthday party! I still can’t believe our little baby is turning ONE! When he was just a few months old, Andre started making these loud sounds, and the only way I can describe it is “dinosaur sounds”. And thus, his first birthday party theme was decided. In this post I will walk you through how I made his adorable Dinosaur Cupcake Toppers.
Quick directions & links
- Download your cupcake topper file. You can get my dinosaur cupcake toppers and matching decor!
- Print your files on cardstock.
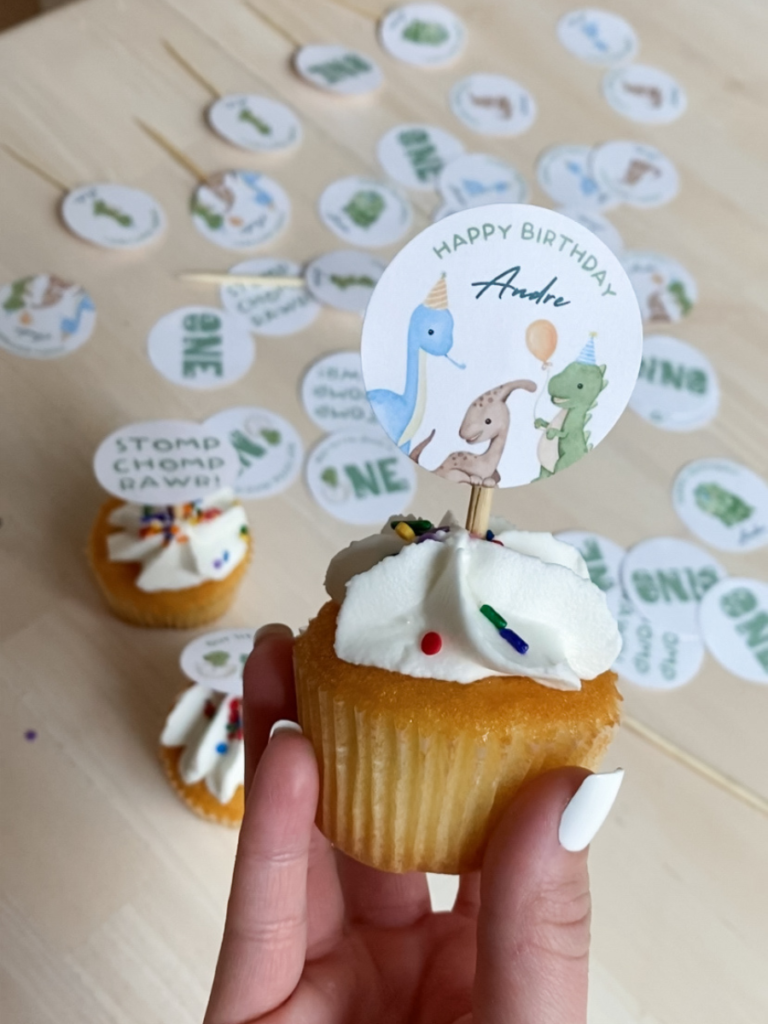
- Cut your prints in strips so they are easier to work with.
- Use a circle cutter to punch out the designs. Save time and your wrist, thank me later.
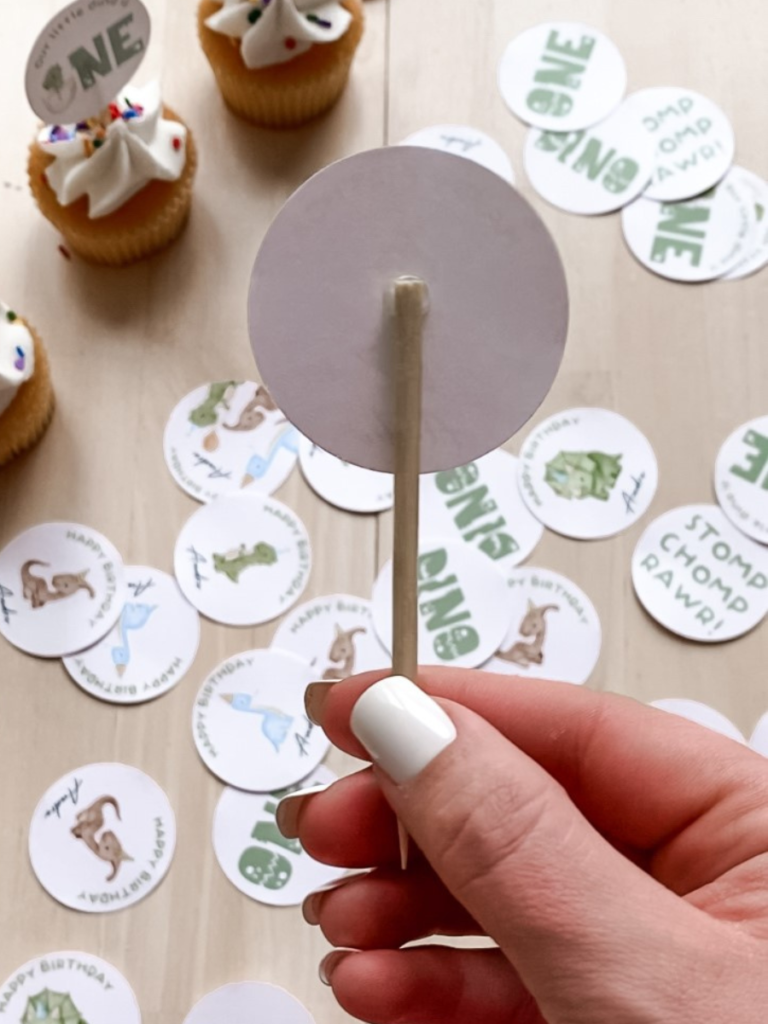
- Use a hot glue gun to adhere the circles to the wooden sticks.
- Place your toppers in the cupcakes and tell yourself what an absolute legend of a mom you are.
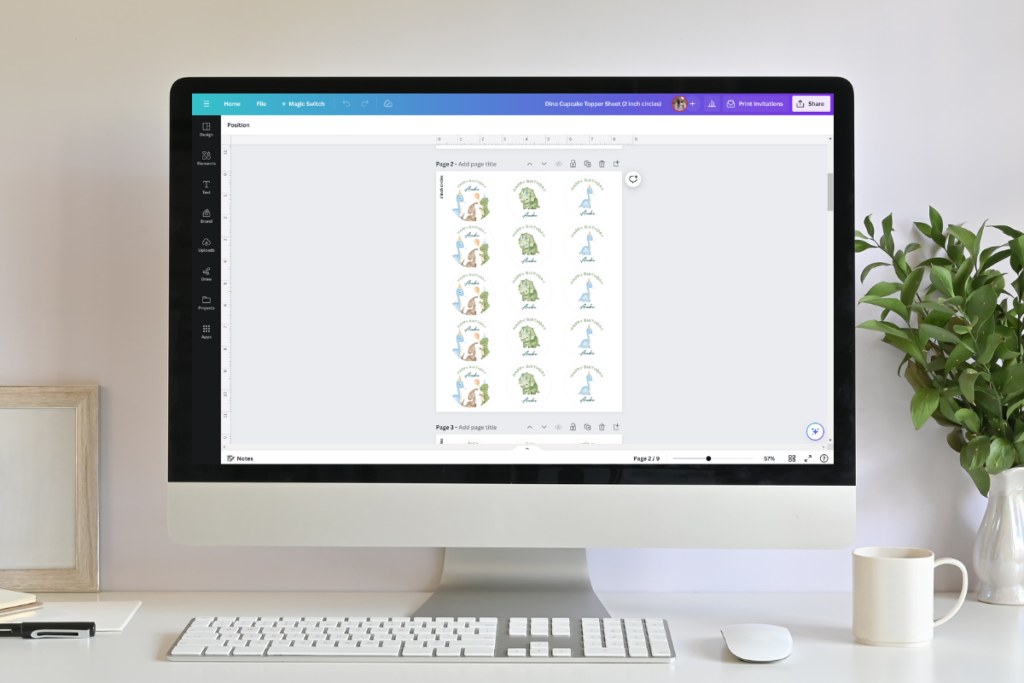
Download your cupcake topper file
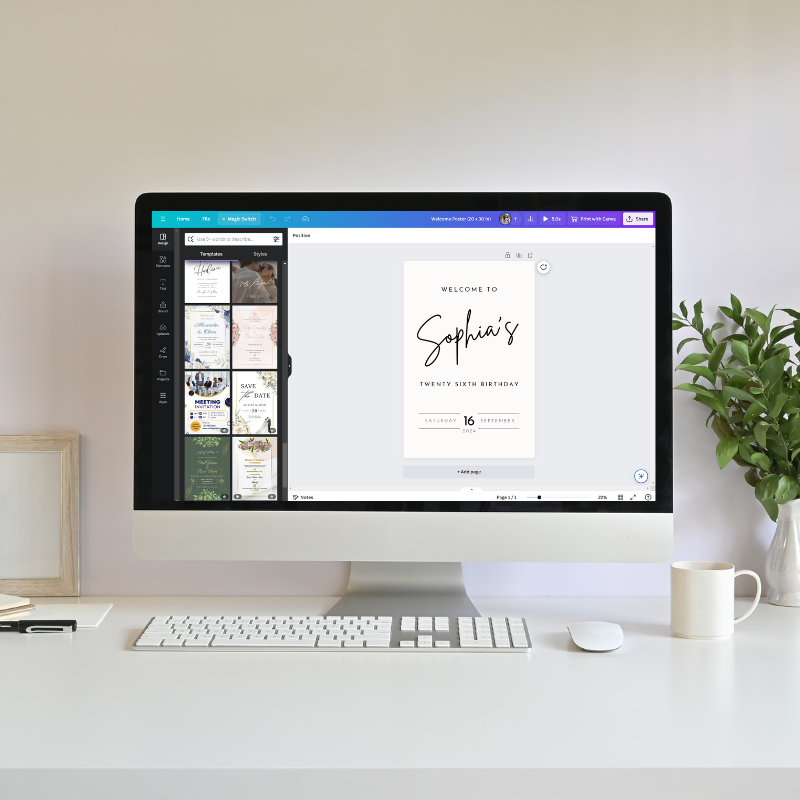
There is a whole Dinosaur Birthday Bundle I created, and these cute dinosaur cupcake toppers are one of my favorite! These toppers are editable in Canva, and you can download as many as you wish. Go to How to Edit Cupcake Toppers in CANVA to see the fastest and easiest way to personalize your toppers!
Print your files on cardstock.
Printing on cardstock is a little more expensive, but the results are much better in my opinion. First, cardstock does not get wrinkled or bent as easily as regular paper. You will be handling the paper a lot, and if you print on regular paper, it won’t have that clean, aesthetic look to it. Cardstock is also less see through. For this project, I only made one side of the cake toppers have a design (some people choose to take two circles and glue them together with the wooden stick in the middle). Even when I was filming, the viewer couldn’t see the wooden stick through the paper. If you have light coming from behind your cupcakes and you print on regular paper, the wooden stick will be much more apparent, and it may not have the desired look you were going for.
After you personalize your toppers and are ready to print on cardstock, you can check out this post How to Print Your Canva files from Home, that will take you through the steps to successfully print out your designs.
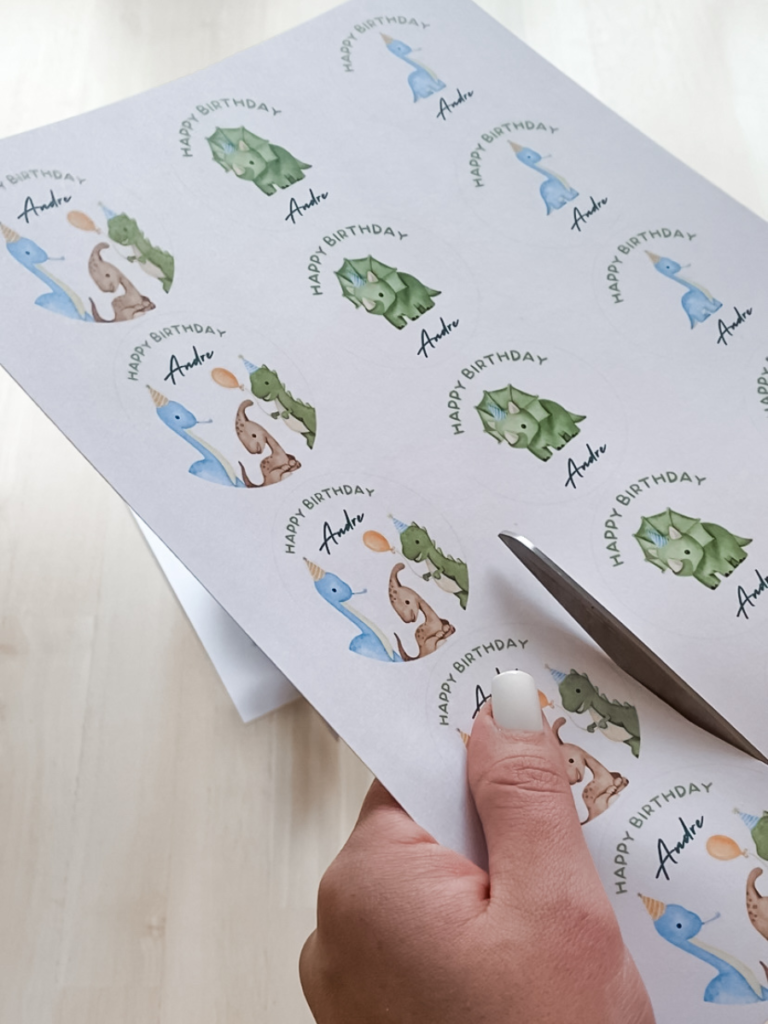
Cut your prints in strips
You will need to cut your paper in strips especially if you plan on using the magical cutter in the next step. Even if you plan on using scissors, this will just make your life a whole lot easier.
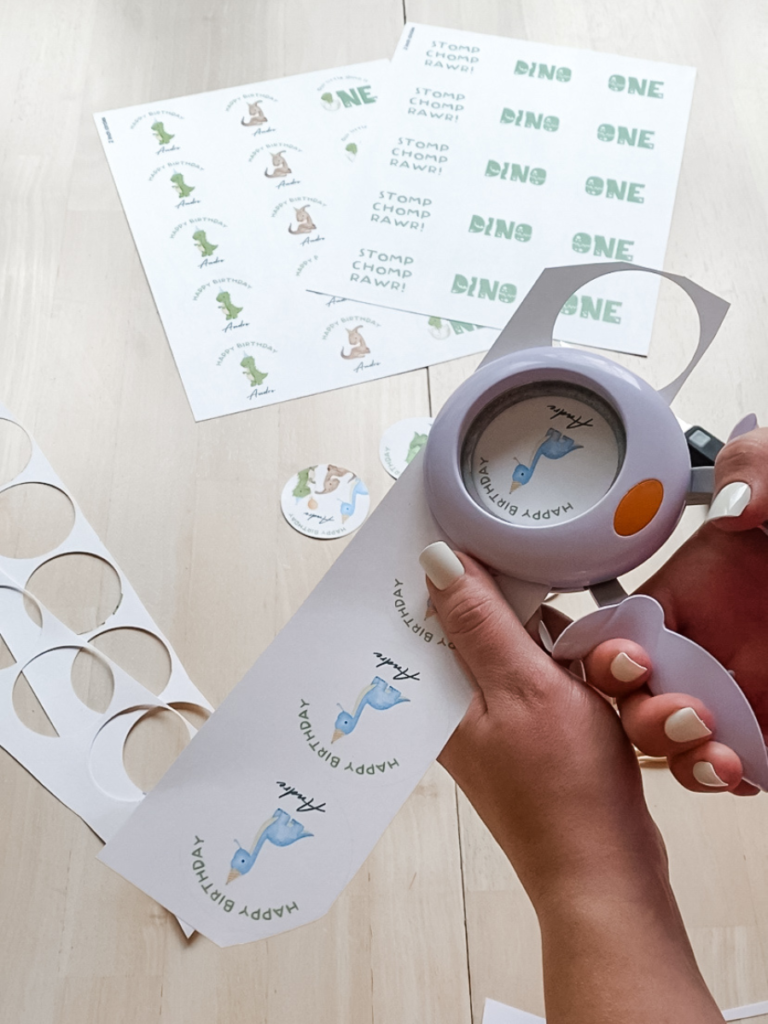
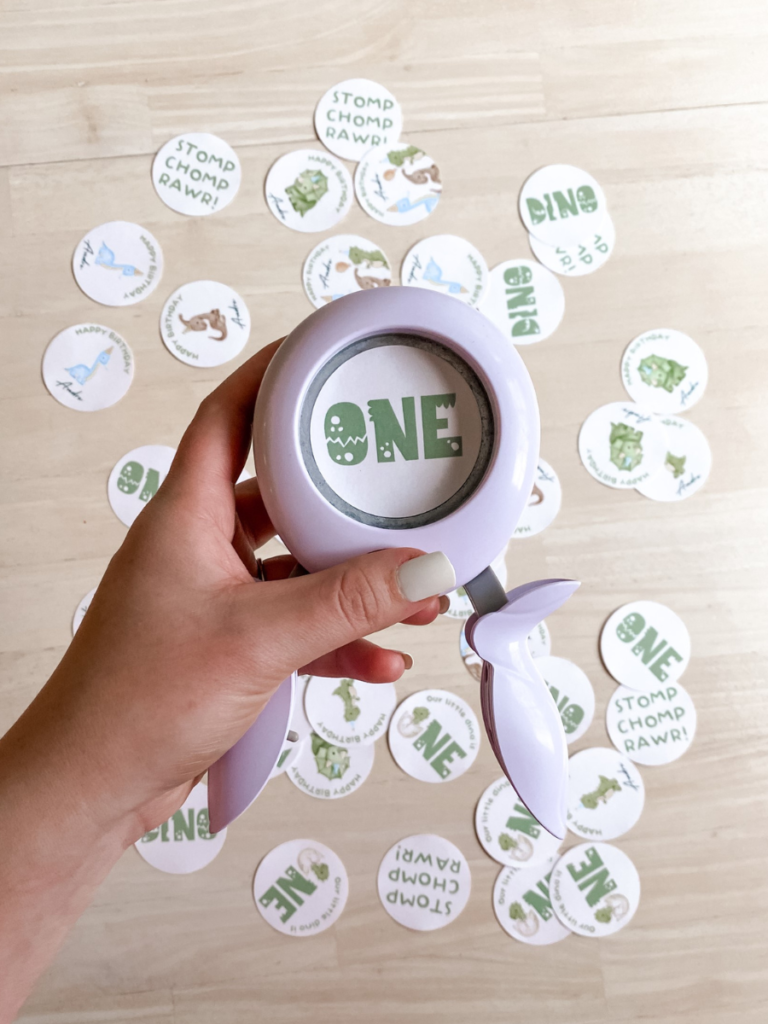
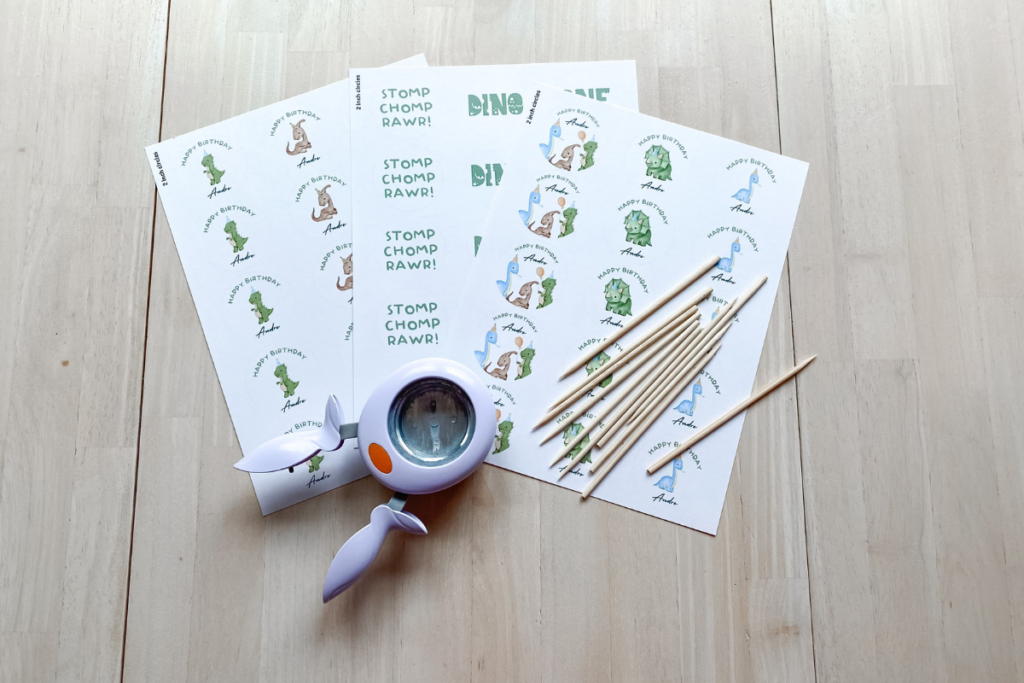
Use a circle cutter to punch out the designs
Ahh yes, the magical cutter I keep referring to. I did my research and this was the ONLY 2 inch circle cutter that you could actually see what you are doing. I want to thank the inventor personally. All of the other cutters I found online were a kind that you put in your paper and blindly cut and hoped for the best. This was the game changer ladies. Also, if you’re concerned with the price ($22 at the time of writing this post), you can definitely use this in many other ways. I’m thinking party favors, Valentines, bridal showers, weddings, Christmas, baby showers etc. This little gadget it gold. Please don’t hand cut 30 plus 2 inch circles. You will get mad, tired, eat a Nutella sandwich that you weren’t planning on, you’ll get mad of your lack of self control, and it won’t be fun anymore. I’m really just looking out for your mental health here.
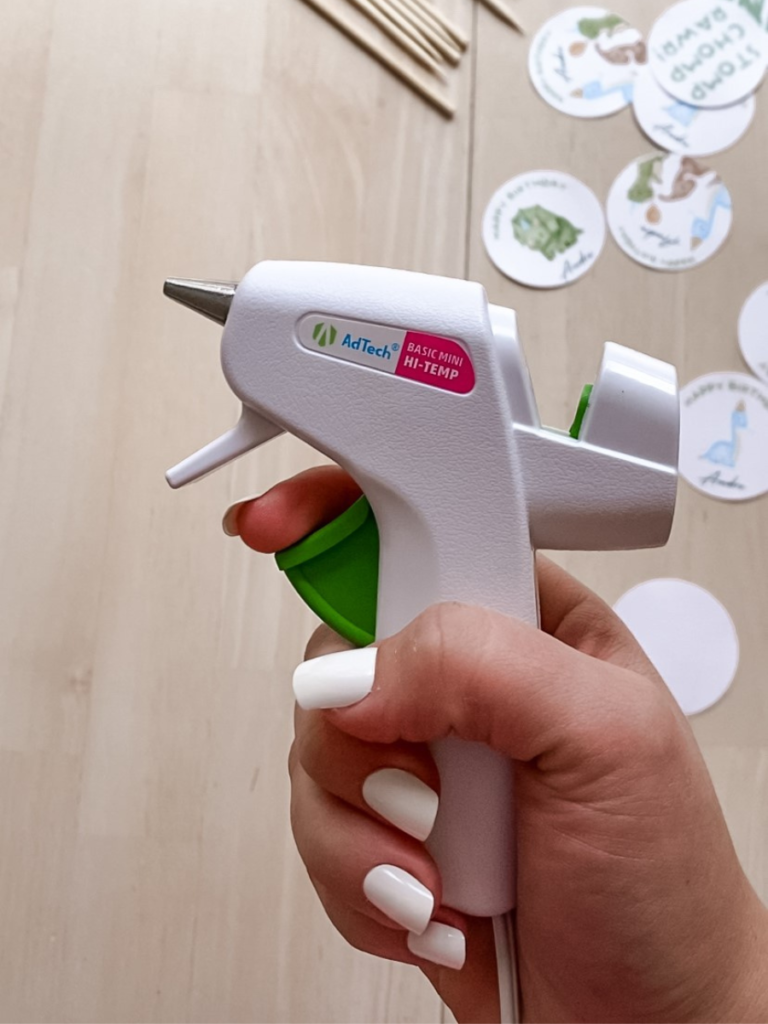
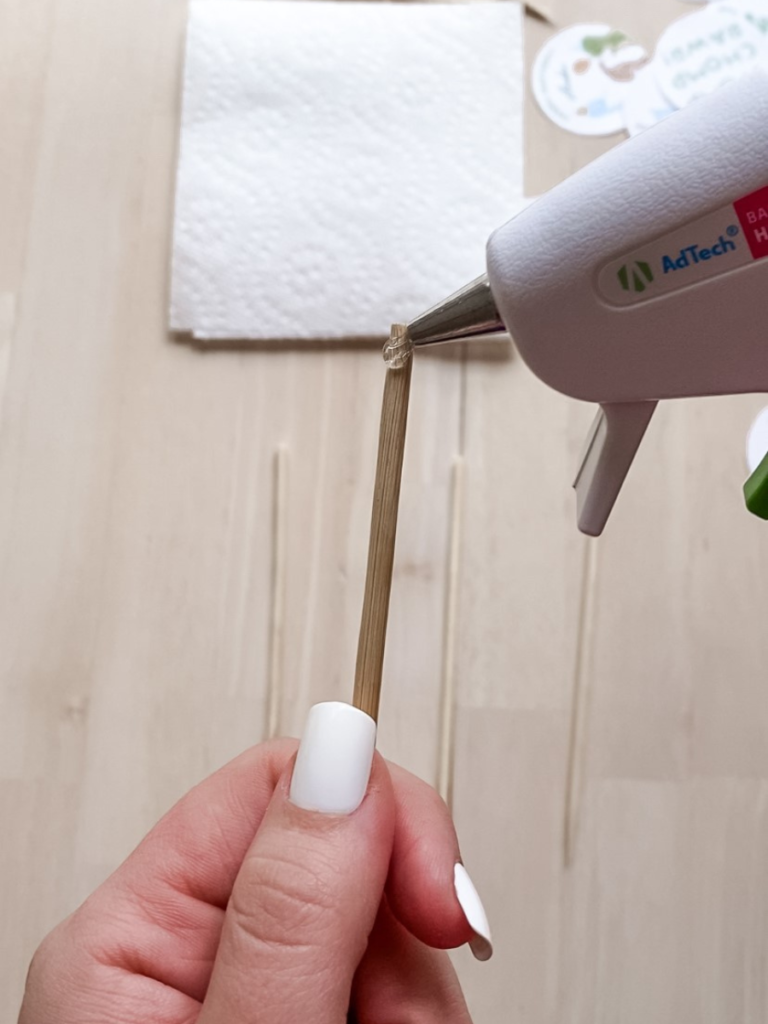
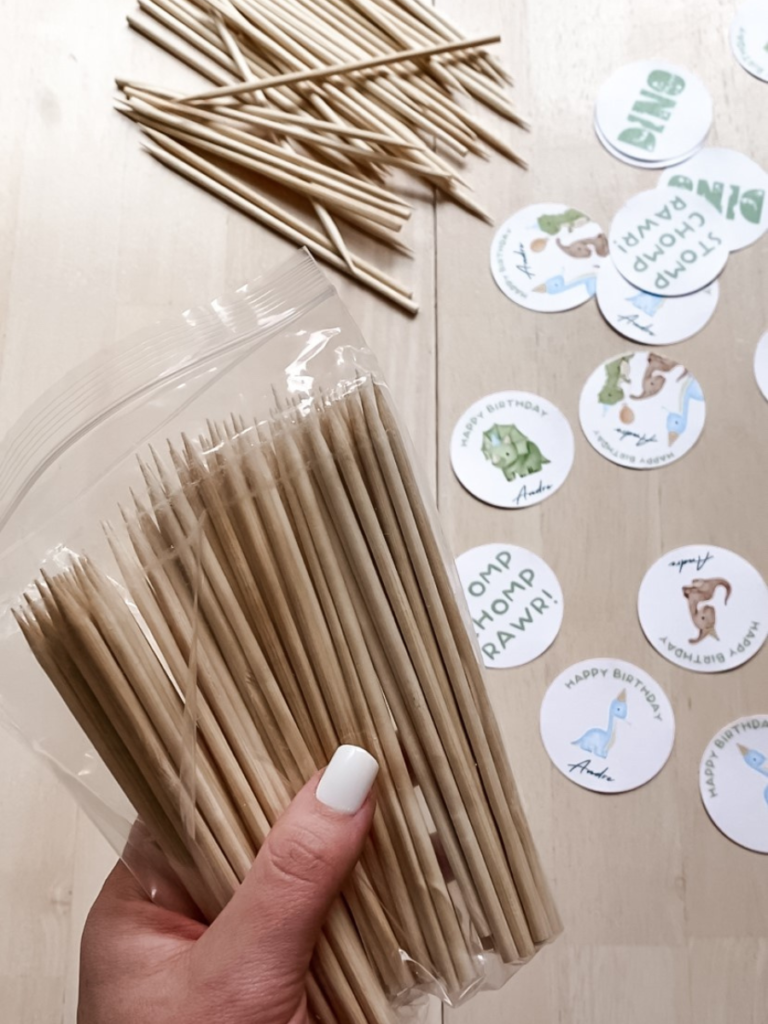
Use a hot glue gun to adhere the circles to the wooden sticks.
I purchased this cutie of a glue gun and it worked perfectly. When you are waiting for the glue to heat up, get your wooden sticks and circle toppers together in some organized way that makes sense to you. I flipped all the toppers on the designed side and laid the sticks in a pile so I could have a good workflow. Once your glue is ready, put a small dab of glue on the top of your stick and place your circle topper on it. Gently press it together and place the topper face down to the stick is on top of the paper when it dries. The reason why I had to purchase a glue gun in the first place, is because I thought a regular glue stick would do the trick. Nope. I was mistaken. If you don’t already have one, this mini glue gun is $6.51 and includes glue sticks.
For the wooden sticks.. I do have a few things to say about these guys. I misjudged the height. Originally I was thinking, okay, if I get them too small, then I can’t do anything about it, but if I get them too big, I can just break them. Isn’t that the most logical thing you’ve heard all day. In theory, this would be a great idea, but when I broke them, it wasn’t very clean, so then I had to use scissors and try to even it out a bit. Not the end of the world, and I will use the longer sticks as cake toppers, but for cupcakes, just get the smaller 3.5 inch size.

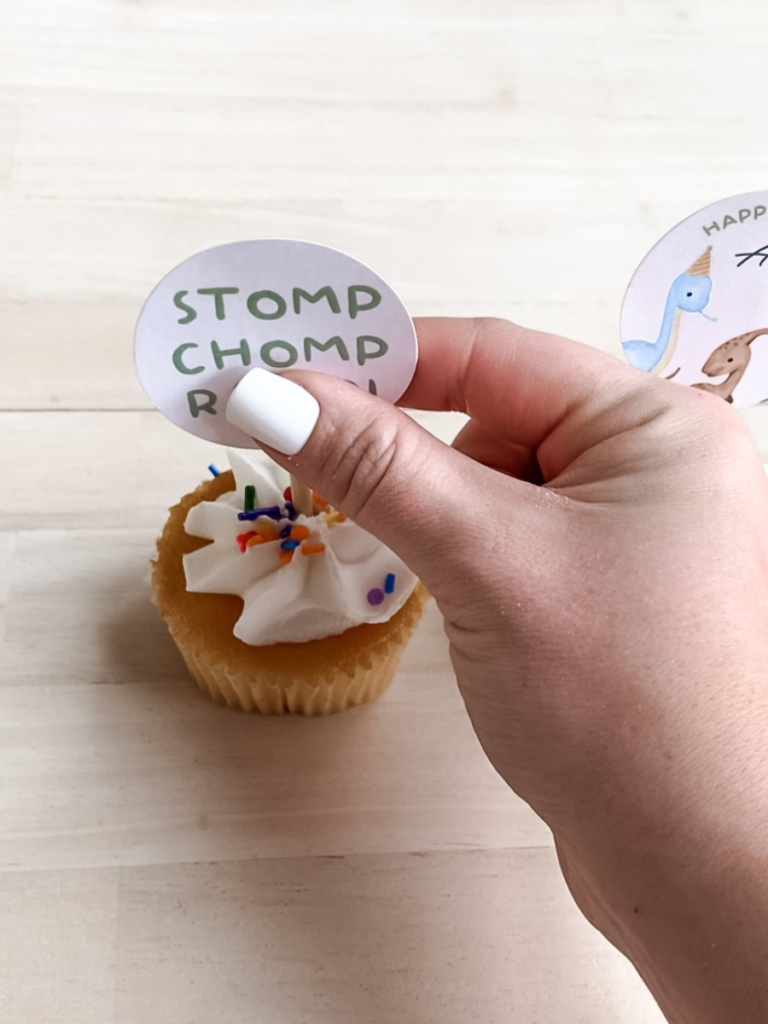
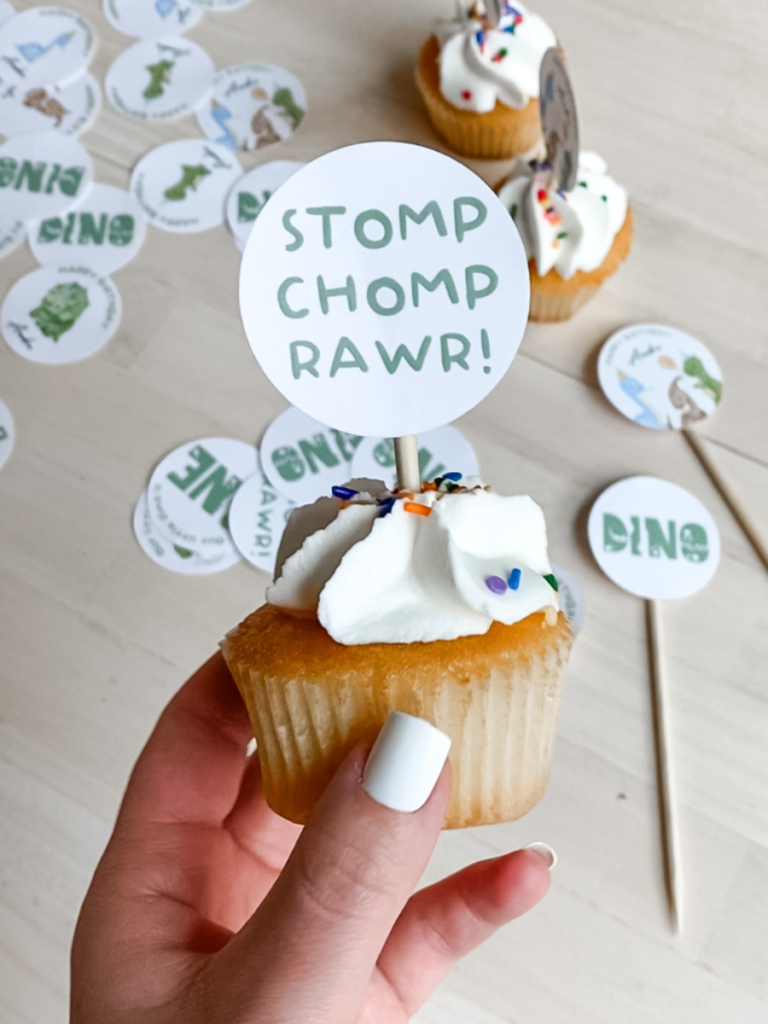
Place your toppers in the cupcakes
YAY! Girl, you did it. I am so proud of you, and I know they look stinkin adorable. Gently place your cupcake toppers in the center of the cupcakes. Don’t worry if they are facing the best side, you can easily turn them around in the cupcake.